Over the last couple of months, the weather here has been pretty terrible, meaning I've not been able to get outdoors with my telescope for a long time. This leads me to writing another tutorial whilst I wait for a clear, dry night.
In this post I'll continue where I left off last time talking about mounts. Specifically, I'll be focusing on how to achieve balance when using a German Equatorial mount.
What is balance?
When we refer to a mount being balanced, we're not talking about preventing the tripod from falling over. Although, hopefully that will be a given…
What we're referring to is setting up the mount in such a manner that we can precisely track the night sky without the weight of the scope and other gear pulling it in one direction or another. In other words, we're really aiming for the telescope to be balanced upon the mount so that no matter what orientation we move the mount in, the forces are balanced and the telescope remains in place with no help required.
Why is balance important?
Achieving a balanced setup is crucial if we want to be able to capture high quality images of the night sky, especially when working with long exposure times. The more balanced and stable the telescope is on the mount, the easier it is for the mount to track the night sky without the need for any adjustments (assuming a decent polar alignment has been achieved).
An unbalanced setup will have the telescope pulling the mount off its natural guide path that's required for tracking an object. As a result, the tracking software will have to make significantly more corrections to help keep things on course. This can lead to blurry images, elongated stars and worse. Beyond this it also puts excess strain on the motor within the mount which can impact performance and has the potential to cause damage in the long run.
How do I achieve balance?
Spend a few minutes searching around online and you'll come across a variety of different approaches that people follow. Fundamentally the steps taken will largely be the same, however the order may differ slightly depending on personal preference or opinion.
For the purposes of this post I'll be describing the approach I take. It may not suit everyone but I find it works for me and it's a relatively quick and simple technique that I'm hoping any newcomers should be able to get to grips with.
Step 1: Levelling the tripod
Before attaching the mount head, telescope or anything else to the tripod we need to start by ensuring its level.
To do this, place the tripod on a stable surface where you plan to leave it for the night. Use a spirit level to check the tripod is level in all directions and adjust the height of the legs accordingly if not.
Once level, tighten up the bolts on each of the legs so there's no risk of them slipping and place the mount head onto the tripod.
Step 2: RA & Dec alignment
The next step is to ensure the that both the RA and Dec are aligned precisely. This step technically isn't required for balance, however it's important to get right in order achieve good tracking later on. As such I decided to include it in this post to give a better sense of my full setup process.
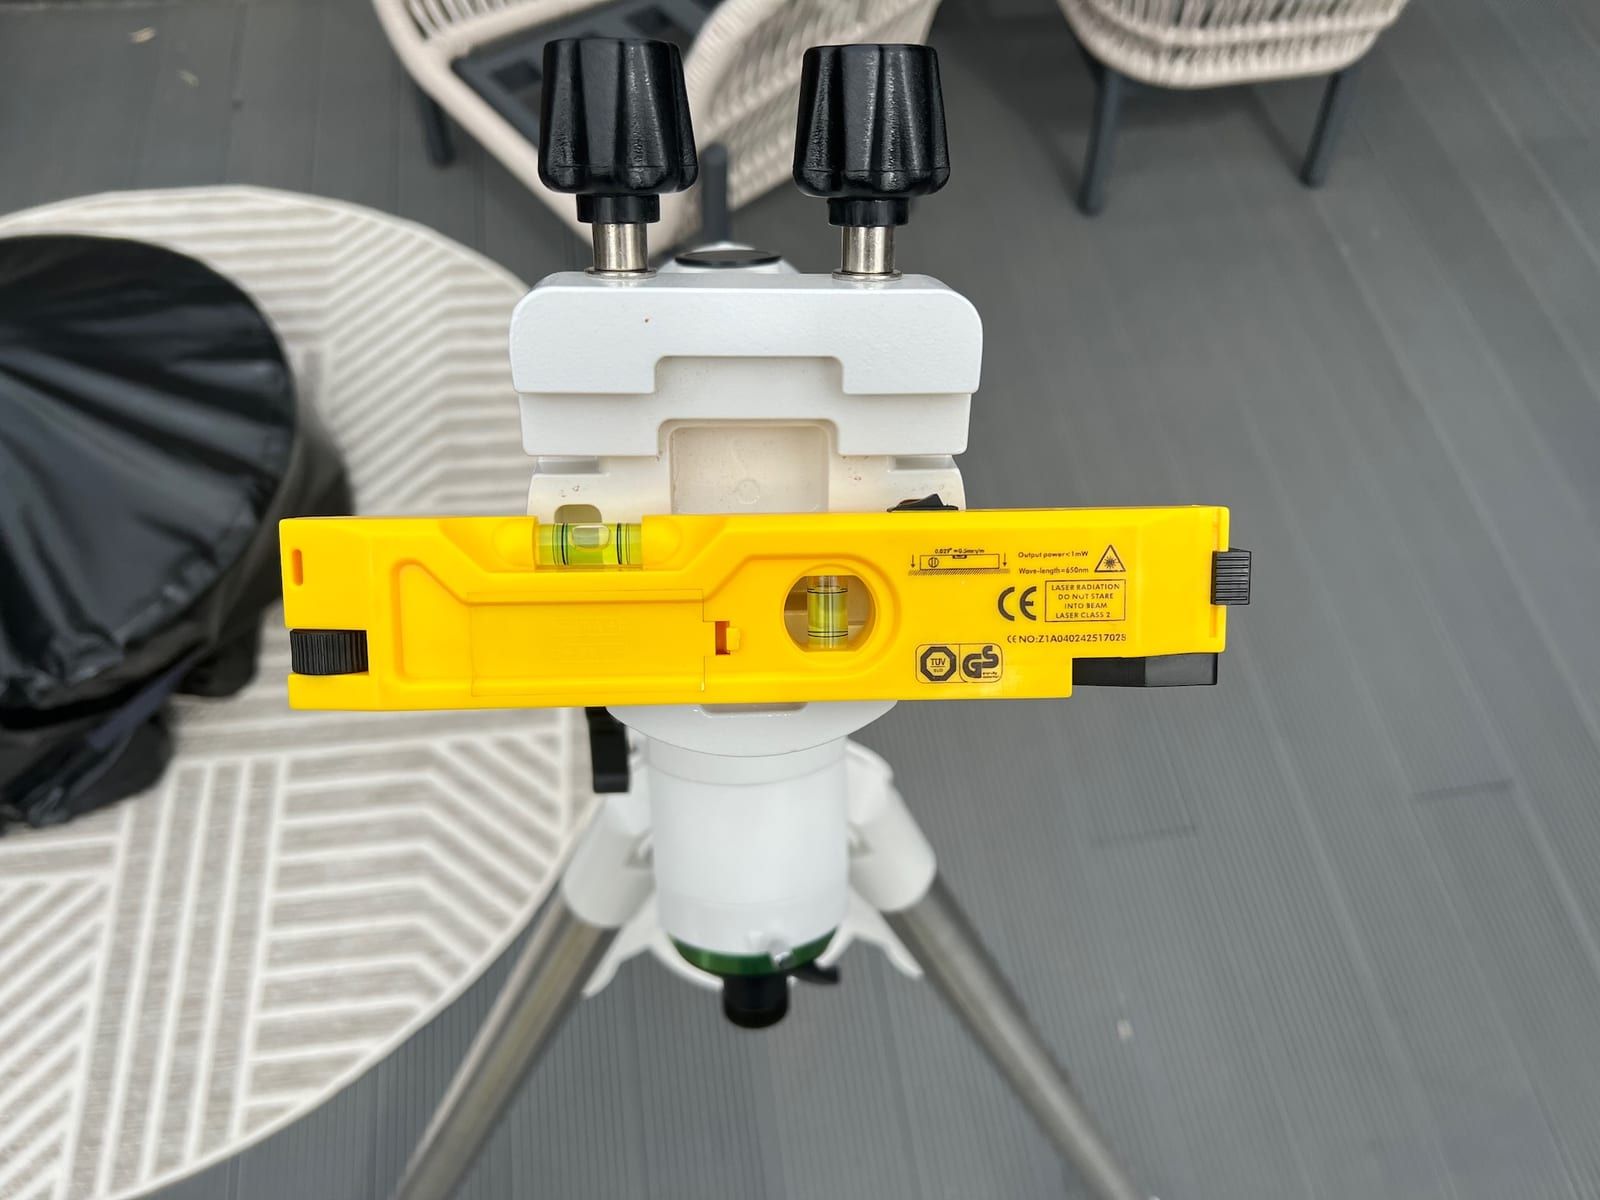
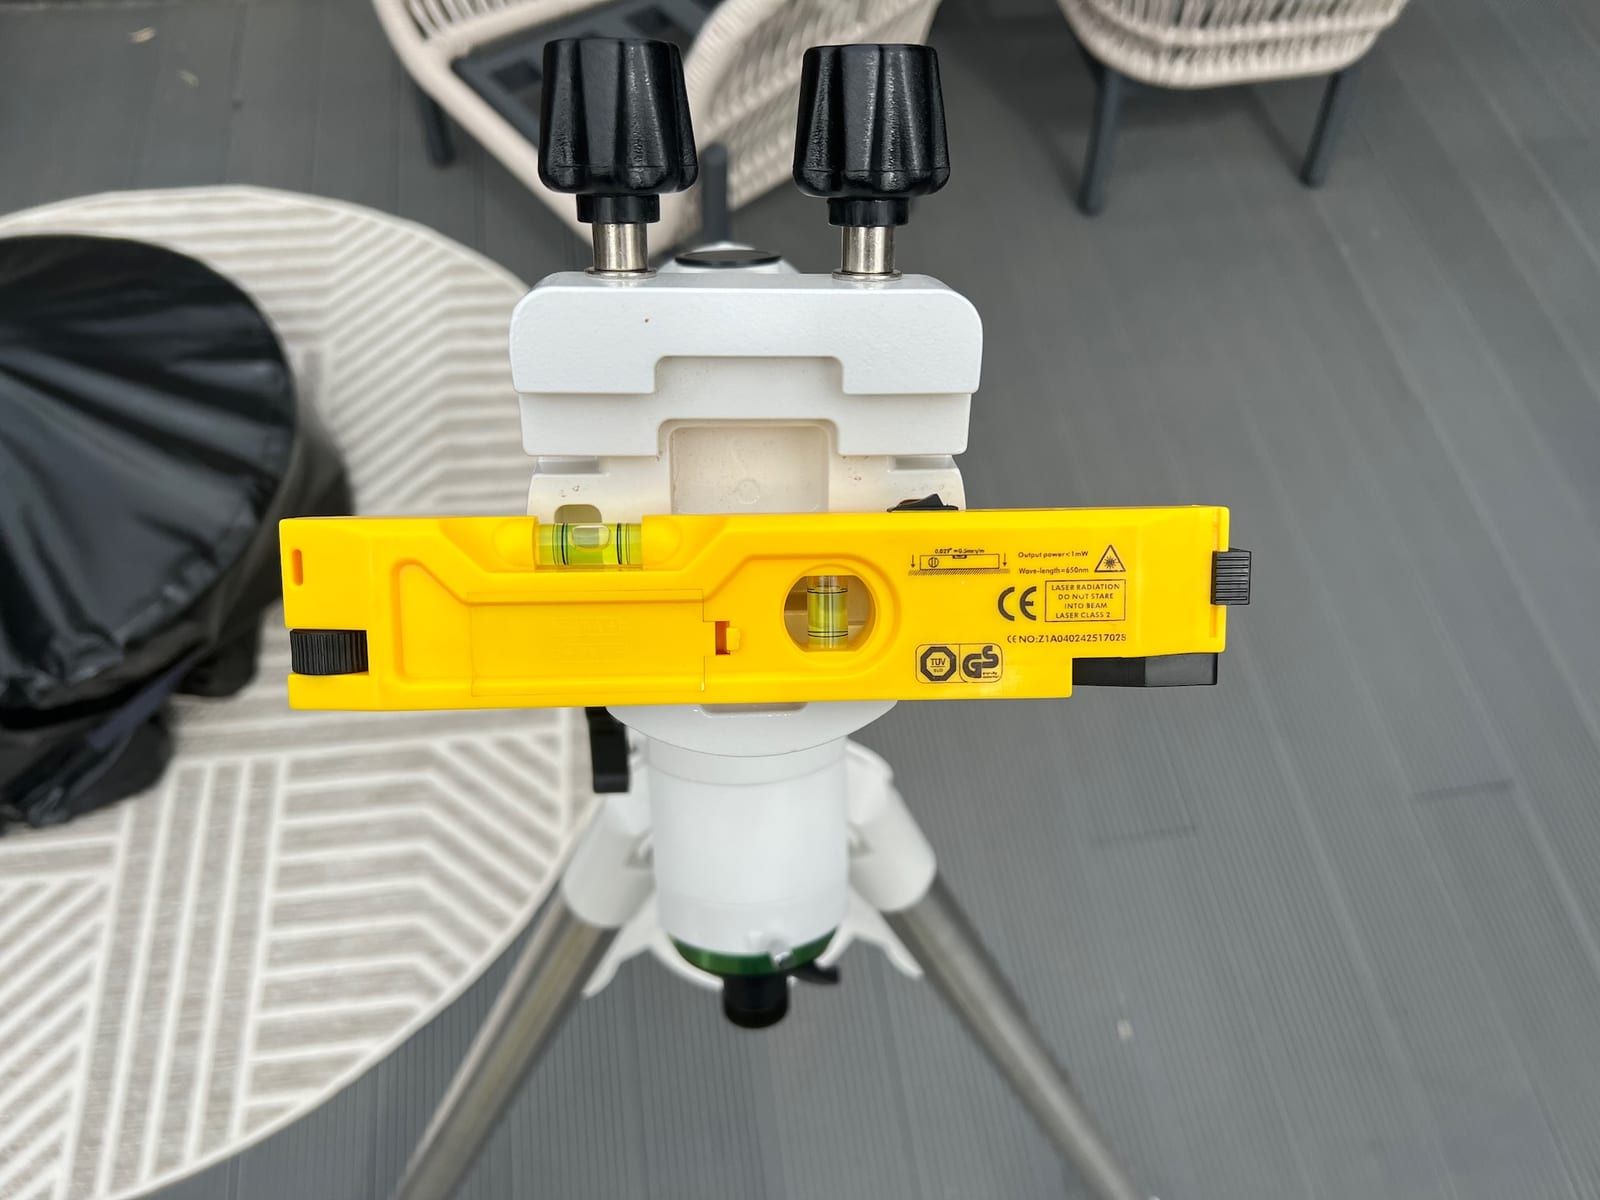
Start by locking the dec lock lever, unlocking the RA lever and extending the counterweight rod. Next, rotate the mount roughly 90° in RA so the counterweight rod is horizontal. Place the spirit level on the rod and fine tune it's position until it's precisely level as shown below.
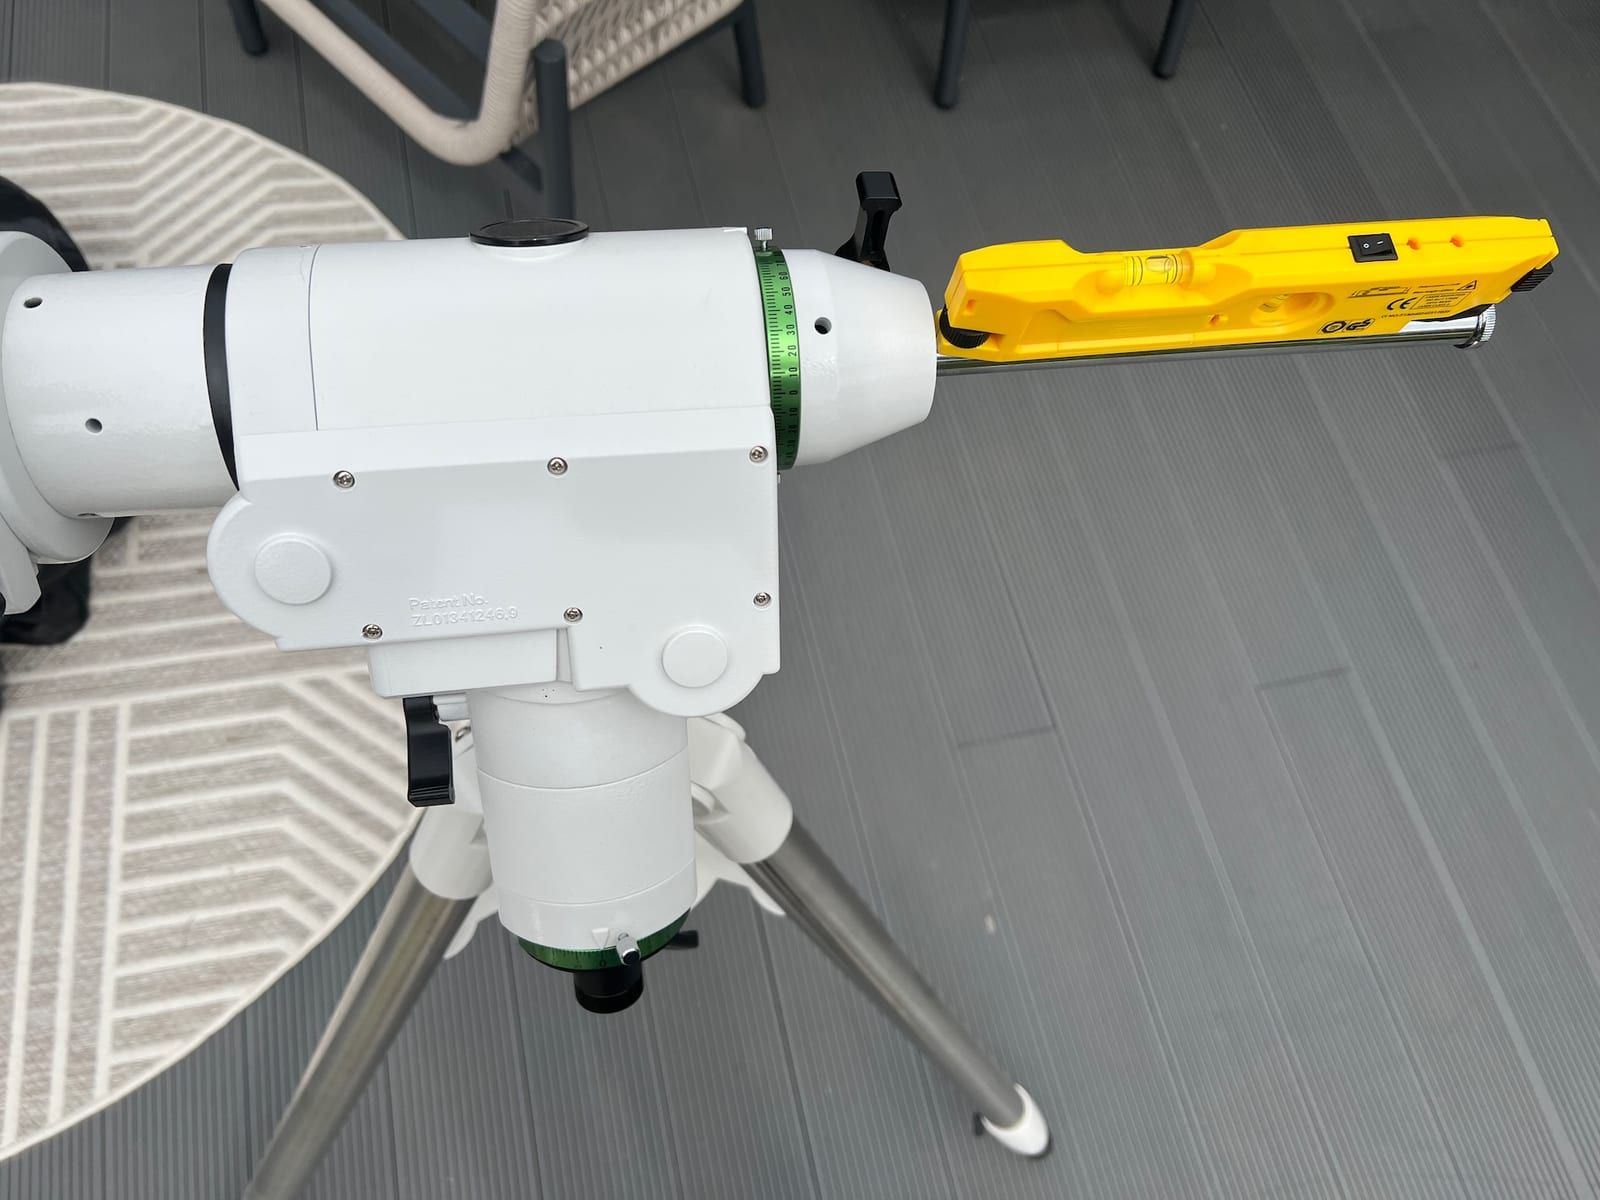
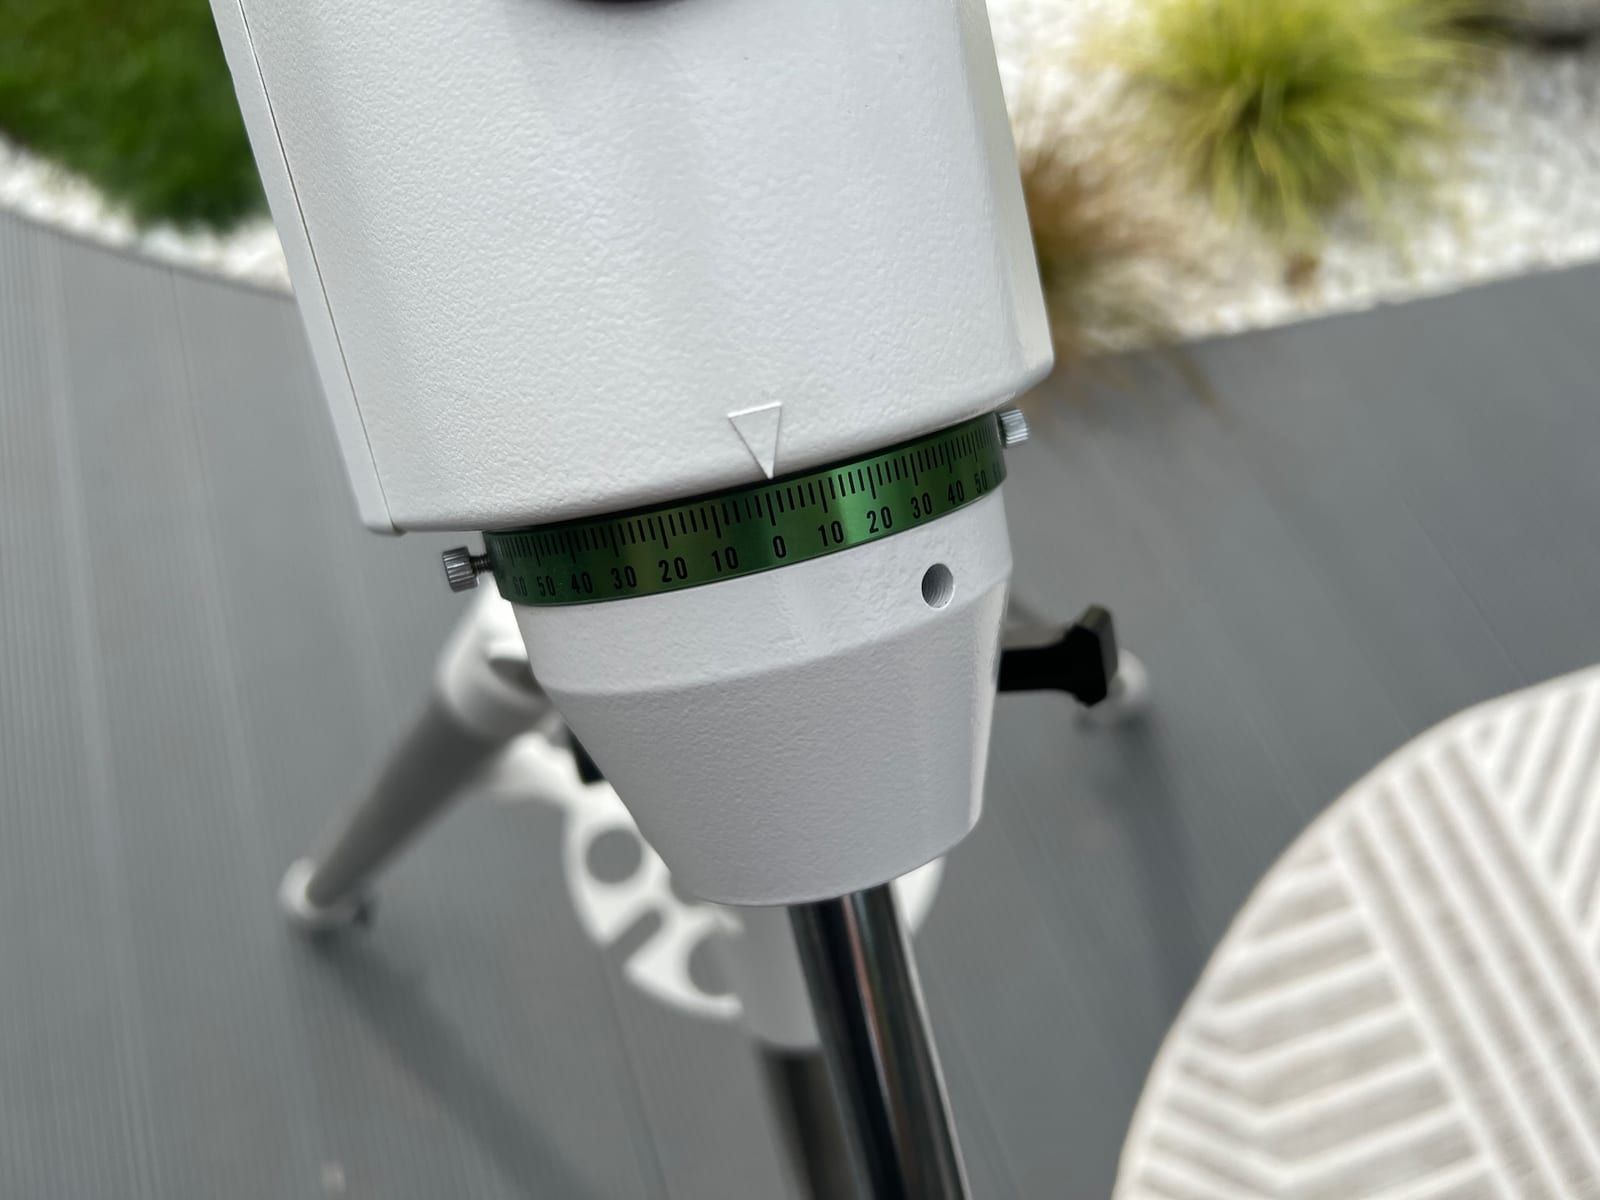
Once level, set the RA setting circle to 0° and rotate the mount back to where it started, turning it exactly 90° using the settings circle as a guide. Finally, lock off the RA lever to prevent any further movement.
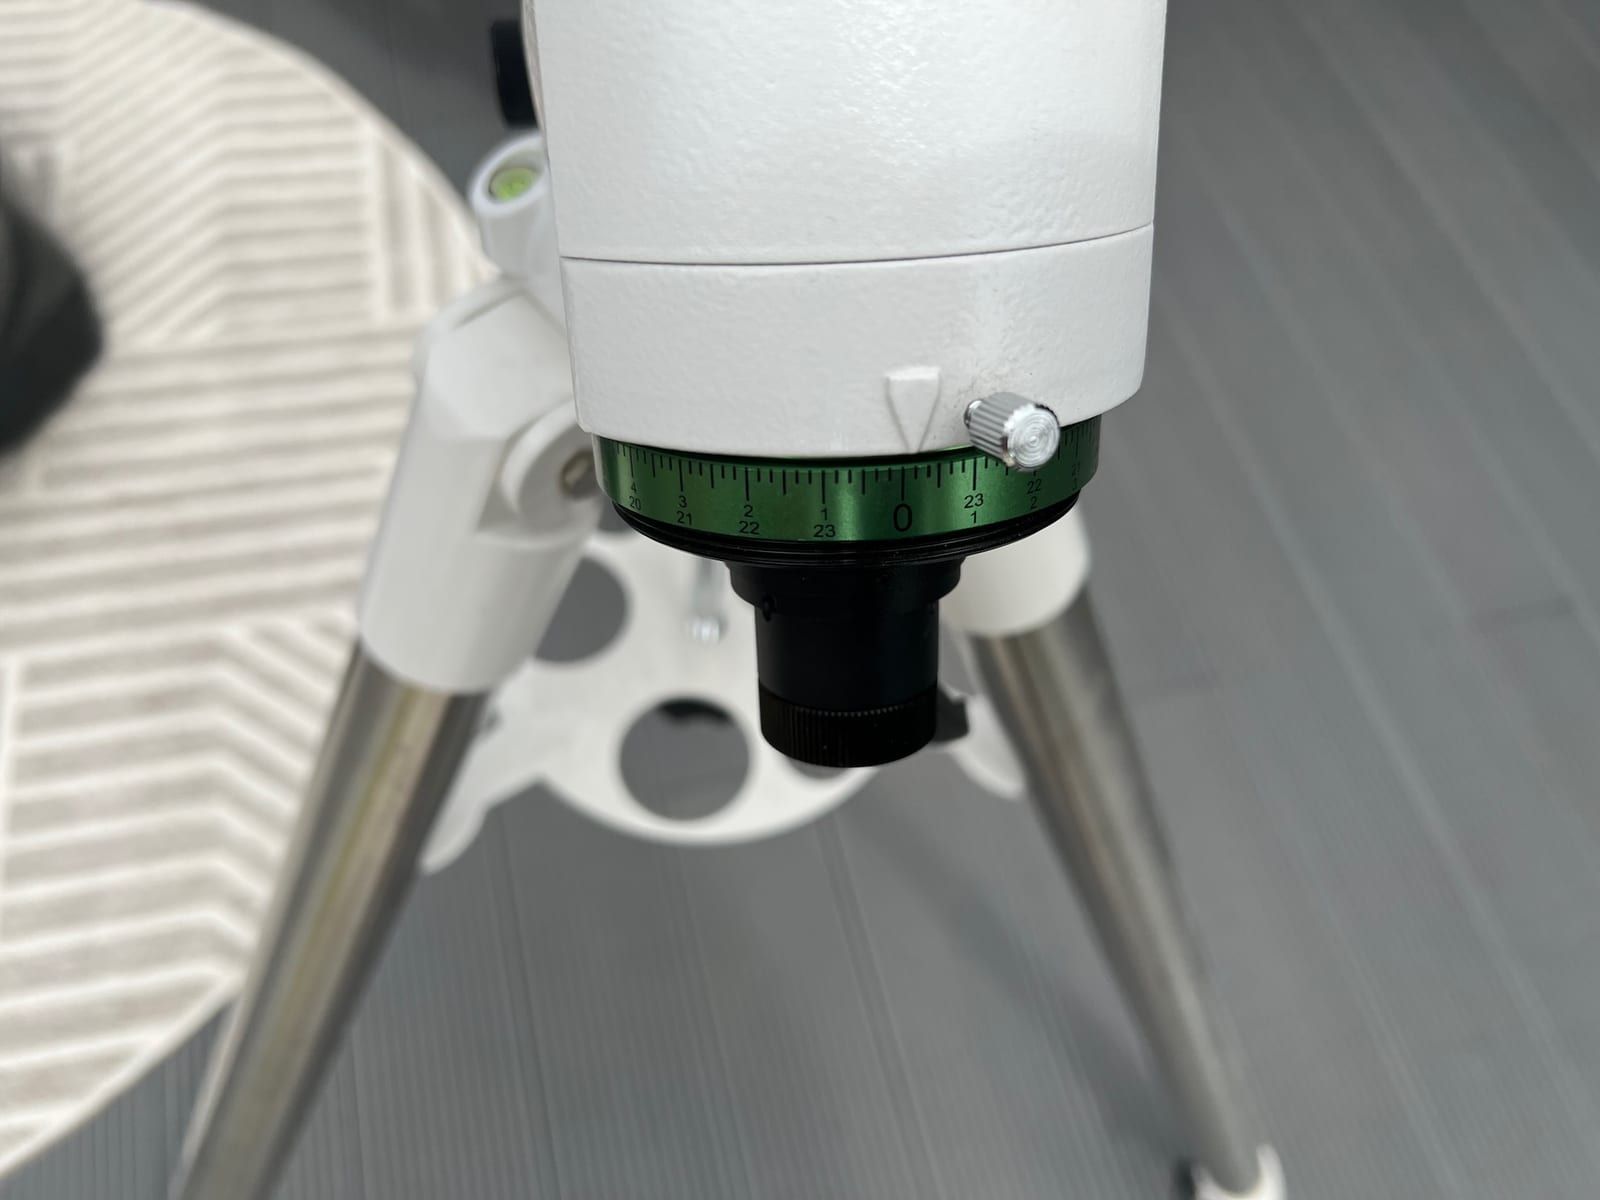
Aligning dec follows a very similar sequence. Firstly, unlock the dec locking lever, rotate in dec roughly 90°, balance precisely using a spirit level as shown in the following image.
Then similar to before, but this time using the dec setting circle, set it to 0° and rotate dec back through 90° exactly using the setting circle as a guide. Finally lock off the dec lever and that concludes aligning RA and dec.
Step 3: RA & Dec balance
Next up, balancing in RA and dec.
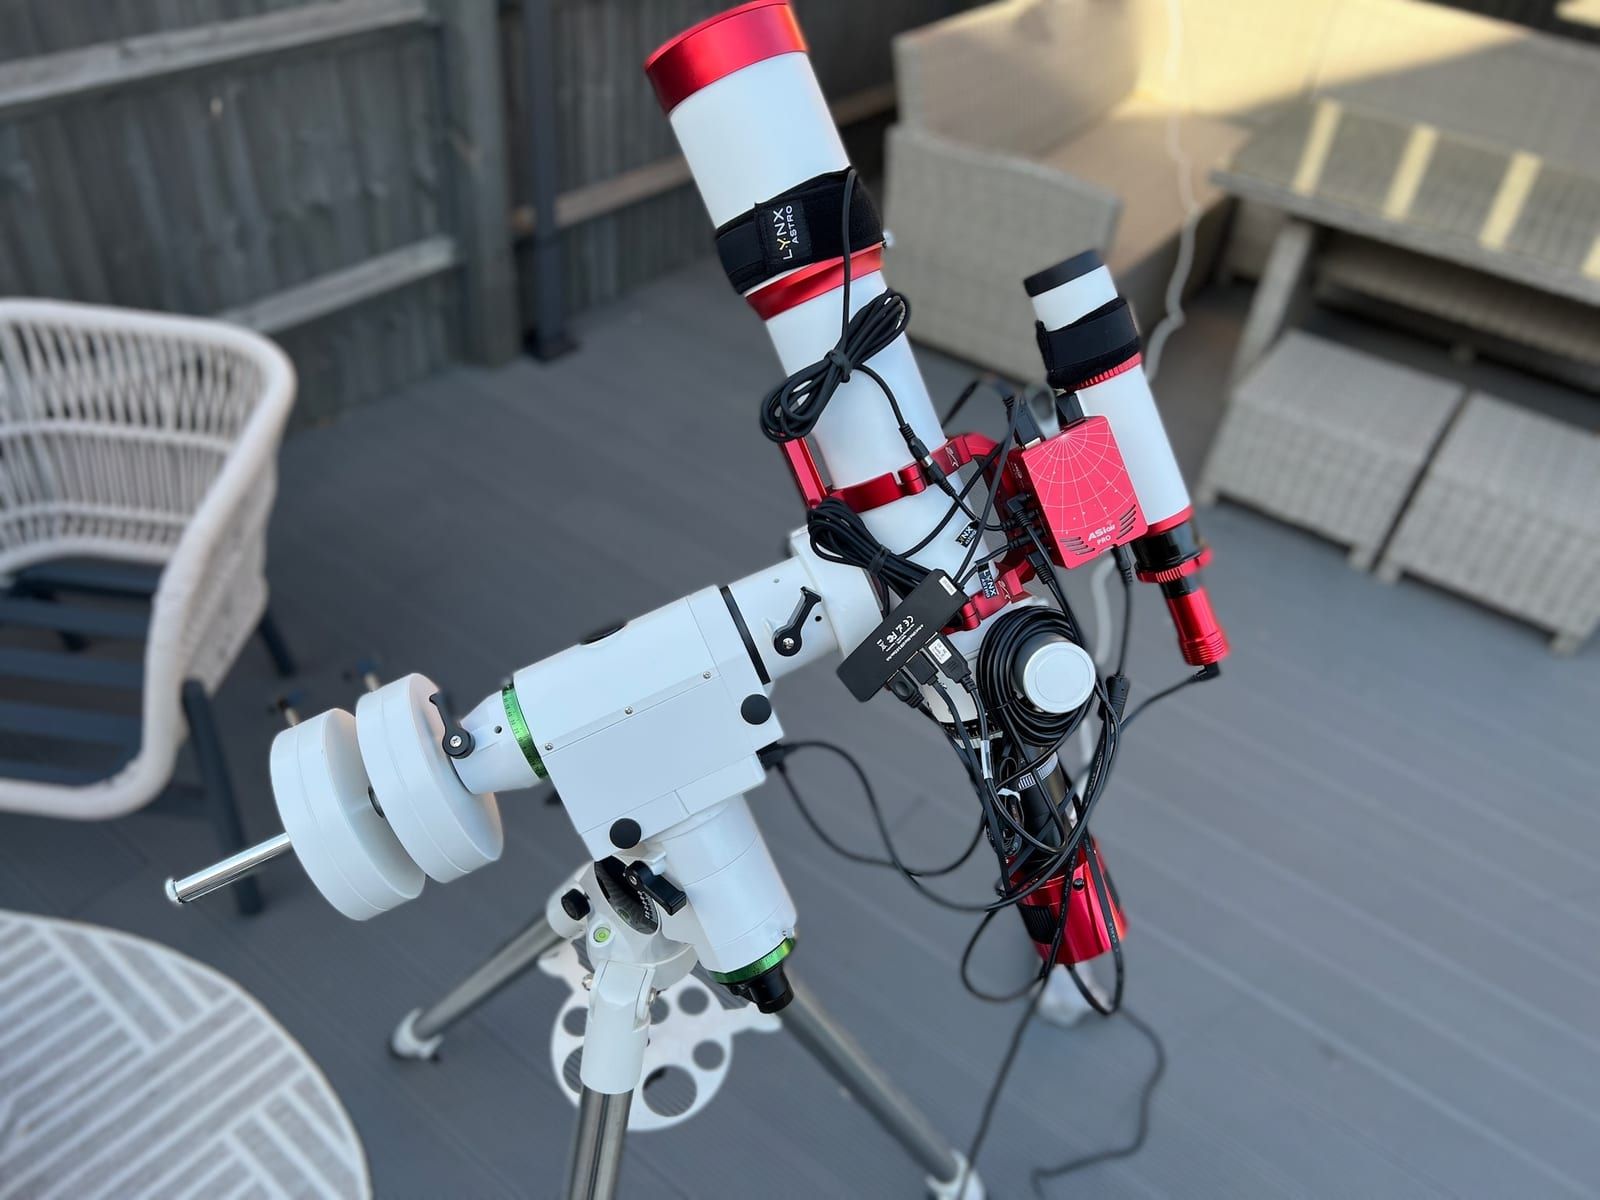
For this step we first need to place the telescope and any other gear onto the mount, including adding the counterweights. It's important to make sure all the gear that will be used for the night is present on the mount at this stage. There's no point balancing everything to then go and add extra weight later on that will throw off the balance.
Once all the gear is on the mount start by ensuring the dec lever is still locked off. Unlock the RA lever and rotate the mount roughly 90° so the counterweight rod is horizontal again. Let go of the mount making sure to keep your hands close incase it drops or flies upwards, hopefully it will stay put but might slowly drift up or down if the balance is off.
If the telescope moves upwards you need to move the counterweights further up the rod and vice versa if it moves downwards. Make small adjustments, repeating the same check that it stays put. Once you get it to this point try moving the mount to random positions on the RA axis and the telescope should continue to remain in place. You've now balanced in RA!
We can now follow a similar process for balancing in dec.
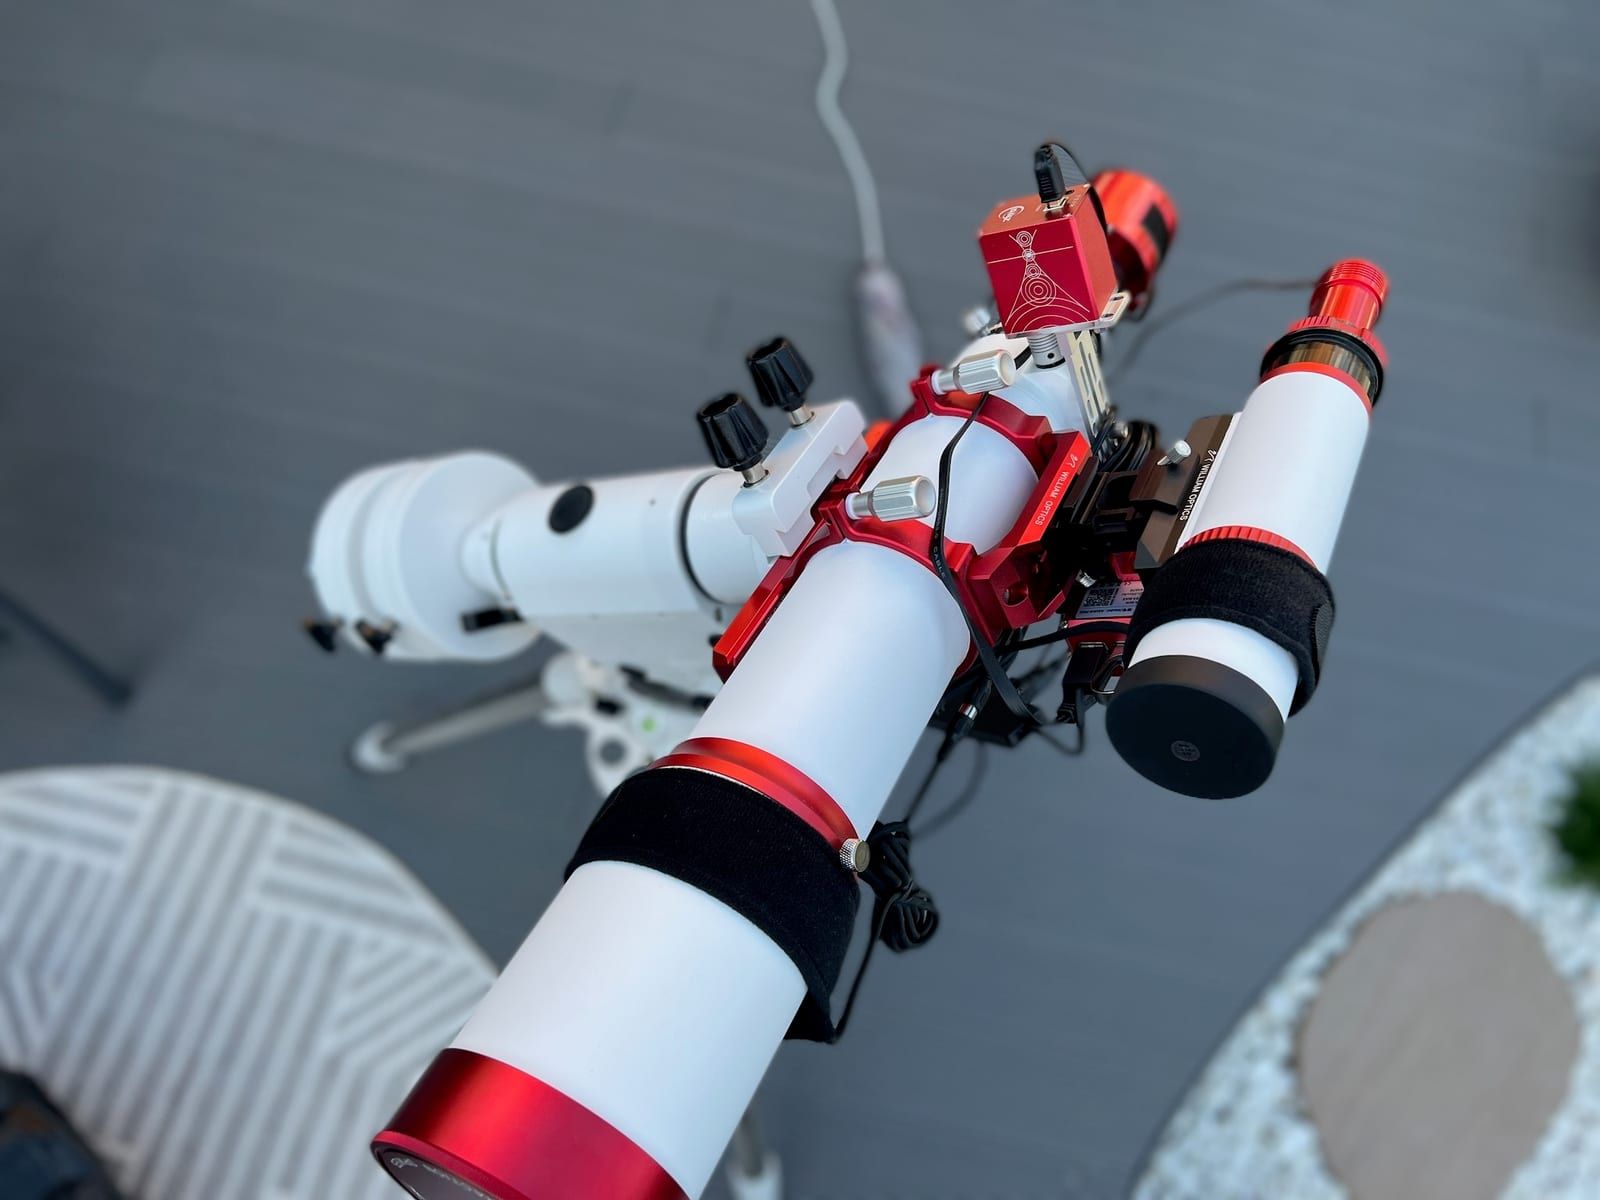
First return the mount to its home position in RA and lock off the lever. Then you'll need to unlock the dec lever and rotate through roughly 90° so the telescope is horizontal.
This time when you let go of the telescope (making sure to keep your hands nearby to catch it if it drops rapidly) check whether the front or back dips. If the front of the telescope dips down then you'll need to slide it backwards a little on the mount and vice versa for the back dipping. As with RA, repeat the process, making minor adjustments and retesting each time until it stays put. You can then move mount into random positions on its dec axis and check the telescope stays put.
Step 4: Final checks
Final checks are basically what they say on the tin; some final checks to sanity check what we've done up to this point has worked correctly.
This is a very simple step that involves unlocking both the RA and dec levers and randomly moving the mount around, letting go with each move and checking there's no movement. If everything is balanced the way we need, the telescope should remain in place pretty much however we orient the mount.
That's pretty much it for balancing a telescope on a mount! It sounds like a lot of work, but I can assure you after a little bit of practice you'll be able to complete all these steps within 5-10 minutes.