
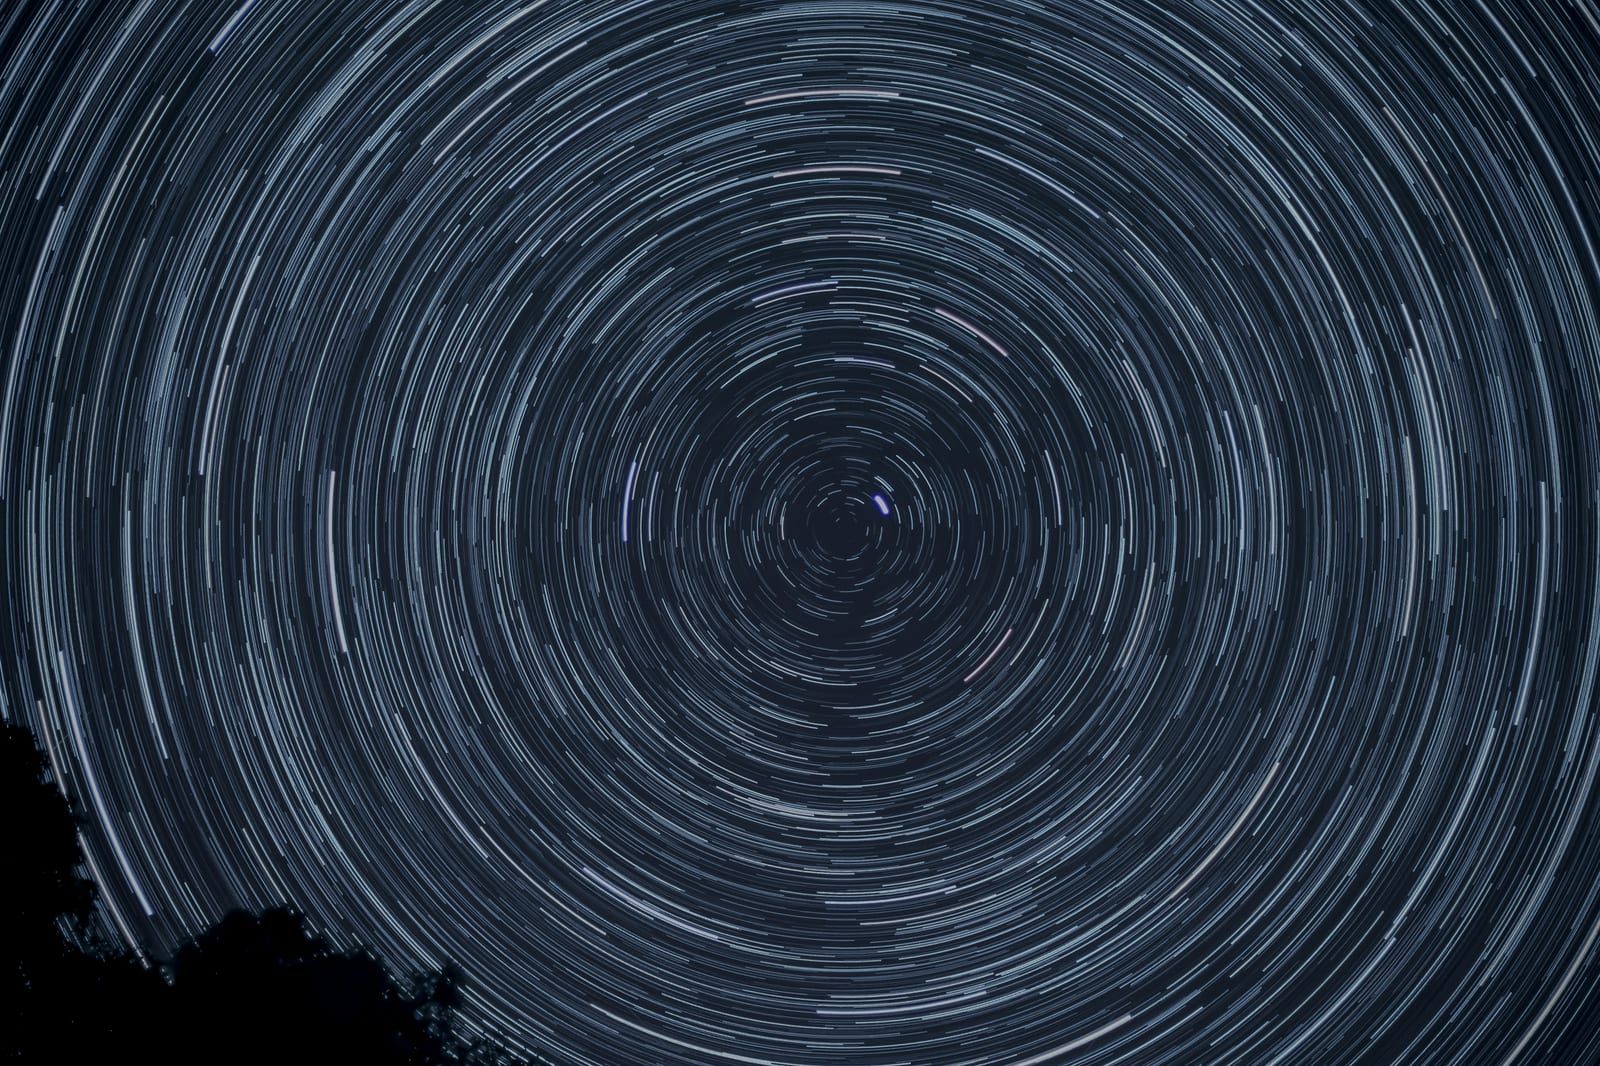
Time for another tutorial post! This time I'll cover polar alignment and talk through how I go about achieving it when setting up for a night if imaging.
What is polar alignment?
Polar alignment is a relatively simple concept at the heart of it.
As I mentioned in my post about mounts, everything in the night sky rotates around a single point; the north celestial pole (NCP) if you're in the northern hemisphere and the south celestial pole (SCP) of in the southern hemisphere.
Polar alignment is simply ensuring the alignment of your telescope when in its home position is centred precisely on that point.
Why do I need to achieve polar alignment?
The closer you can get to alignment with the NCP/SCP, the better your tracking has the potential to be. This of course also relies on other factors such as ensuring your mount is balanced, guiding is setup correctly, etc. but it's a critical part of the setup for any night of imaging. Without doing so you risk star trails and poor long quality sub-exposures.
How do I achieve polar alignment?
This is a more complicated question to answer and somewhat depends on your setup and equipment. For the purposes of this post I'll only be talking about aligning an equatorial mount and will assume it's already been setup and balance as described in this post.
When I first started out with astronomy I was using a very basic setup which consisted of a telescope with a small finder scope mounted on top. In this scenario I followed a very simplistic and rough approach to polar alignment which relied on Polaris (better known as the North Star).
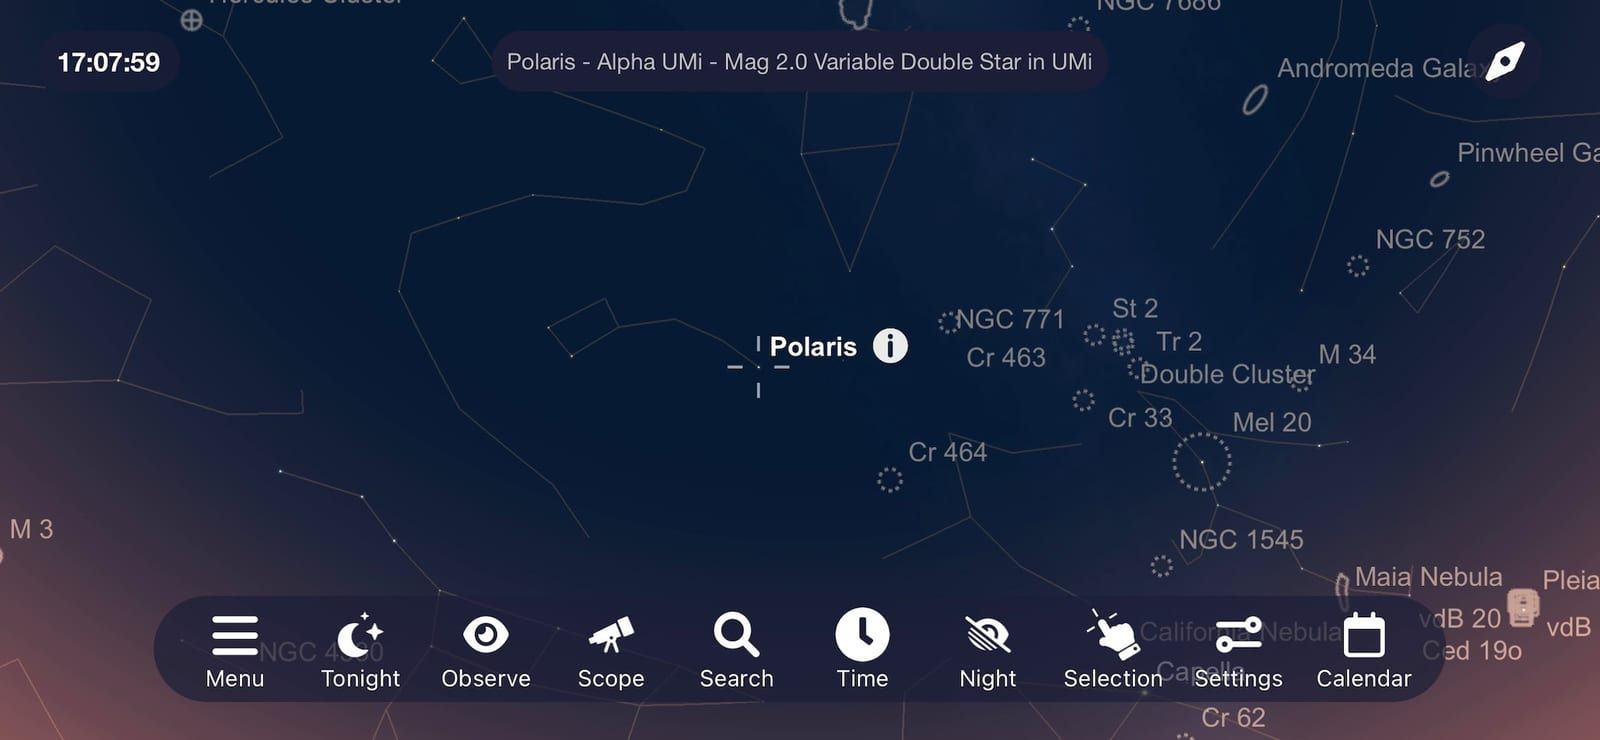
Essentially the aim was to find Polaris through the finder scope and centre it in the crosshairs. Then assuming you've already aligned the finder scope correctly to match the main telescope you can double check through the main scope that polaris is also centred and that's it… simple!
Now I've moved to a more advanced setup, I make use of a more advanced approach to polar alignment that achieves a higher precision alignment. To do this rely on my go-to mount, ZWO camera and ZWO ASI Air and work through the following sequence:
- Ensure the ASI Air, camera and mount are powered up and connected.
- Open the ASI Air app on your device and locate the polar alignment view.
- Press start to begin the alignment and wait for the first images to be gathered and current position relative to the NCP/SCP to be displayed.
- At this stage you can make small adjustments to the altitude bolts and the alt-az bolts to try and bring the positioning into the centre of the concentric circles.
- Making small adjustments each time, repeat step 4 until you achieve an alignment you're happy with and then press the button end the alignment procedure.
In both of these approaches, a critical point to mention is about how to make the required adjustments for polar alignment. Once you've achieved a balanced setup you shouldn't touch the RA or Dec positioning. Any adjustments required for polar alignment should only be carried out by adjusting the alt-az knobs or the altitude knobs.
An extra tip to help fast-track both approaches is to start out by adjusting the altitude of the mount to match your latitude of your geographic location. You'll likely find you have to make further adjustments to it; however, it should give you a good starting point.